Monday, January 28, 2013

Make a T-Shirt Braided Bracelet


Hey all DIY and fashion lovers!  Listen up, do you love super simple, quick and easy DIYs that you can wear right away?  Well then, I have the answer for you.  It's called.....(drum roll please)....a t-shirt braided bracelet.  Yup, that's right, you can whip dozens of these up in a few minutes.  Let's get started.
You're going to need:
-old t-shirt
-scissors
-tape
-sewing machine or thread and needle


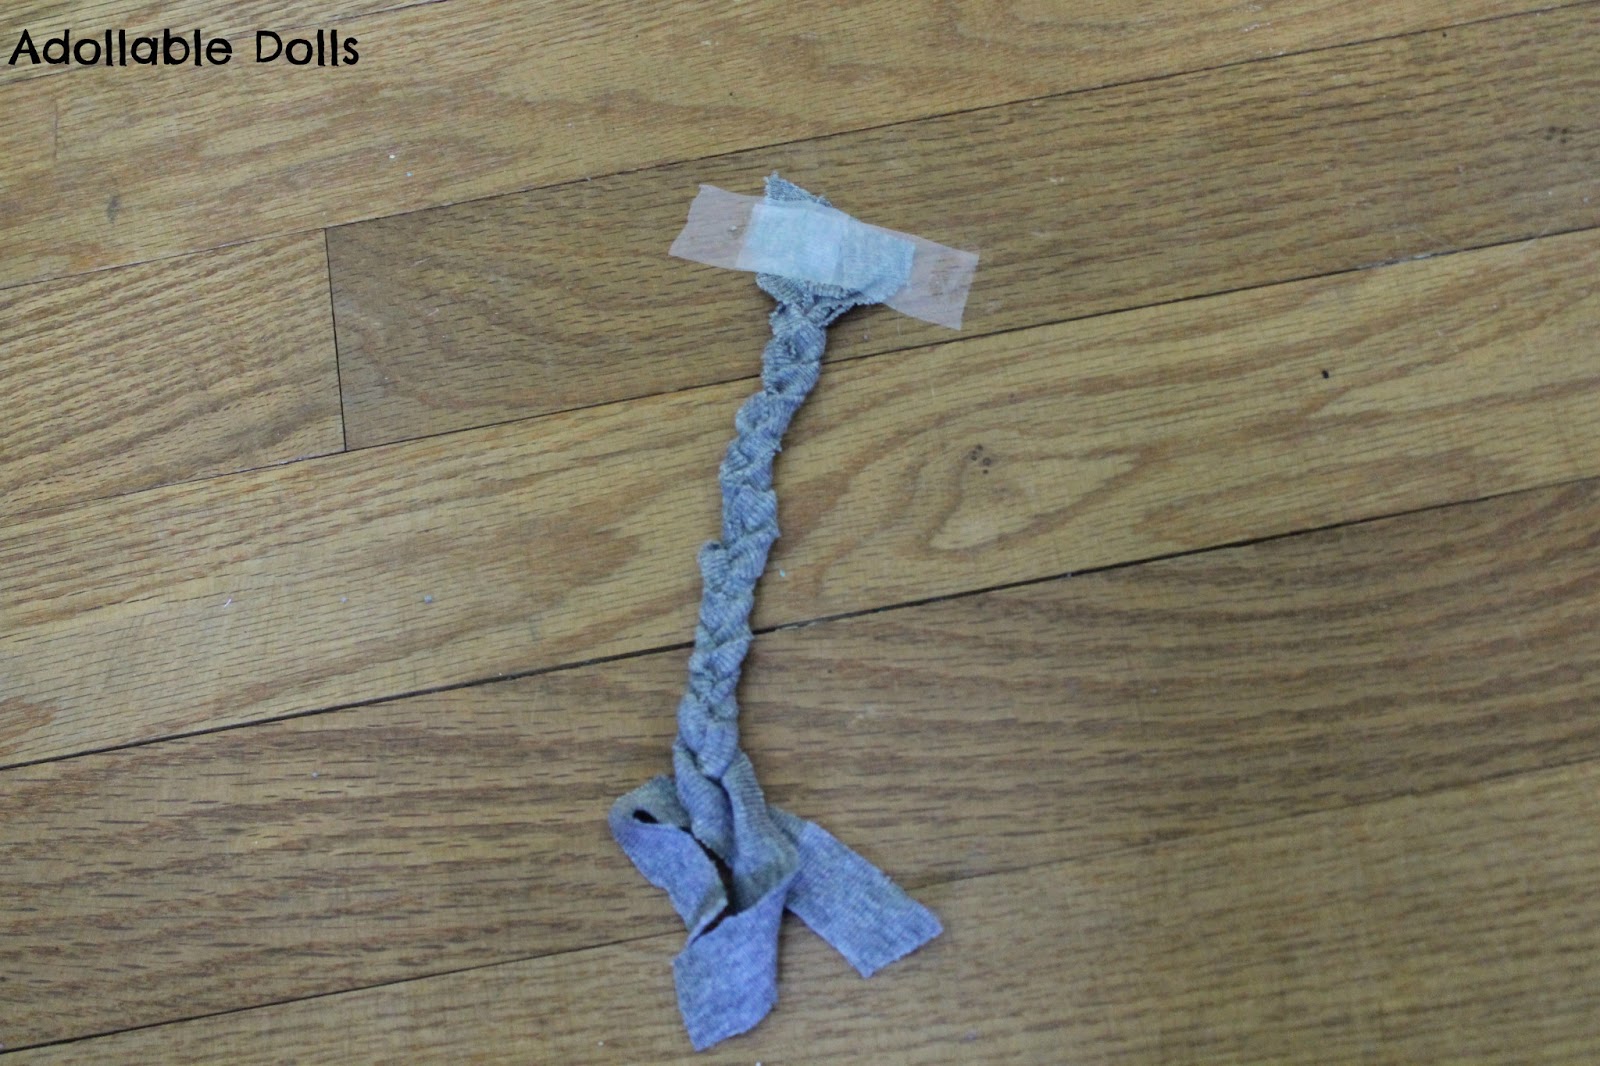
Cut out three strips of fabric, about a 1/2 inch wide and 5-7 inches long.  (Your not going to use all of the 5-7 inches, this is just for caution and the fact that it will depend on how tight/loose you will want it.)


Tape the ends to the floor and braid like you would for a friendship bracelet.  (If that's what you do, I'm not quite sure since I've never made one.)


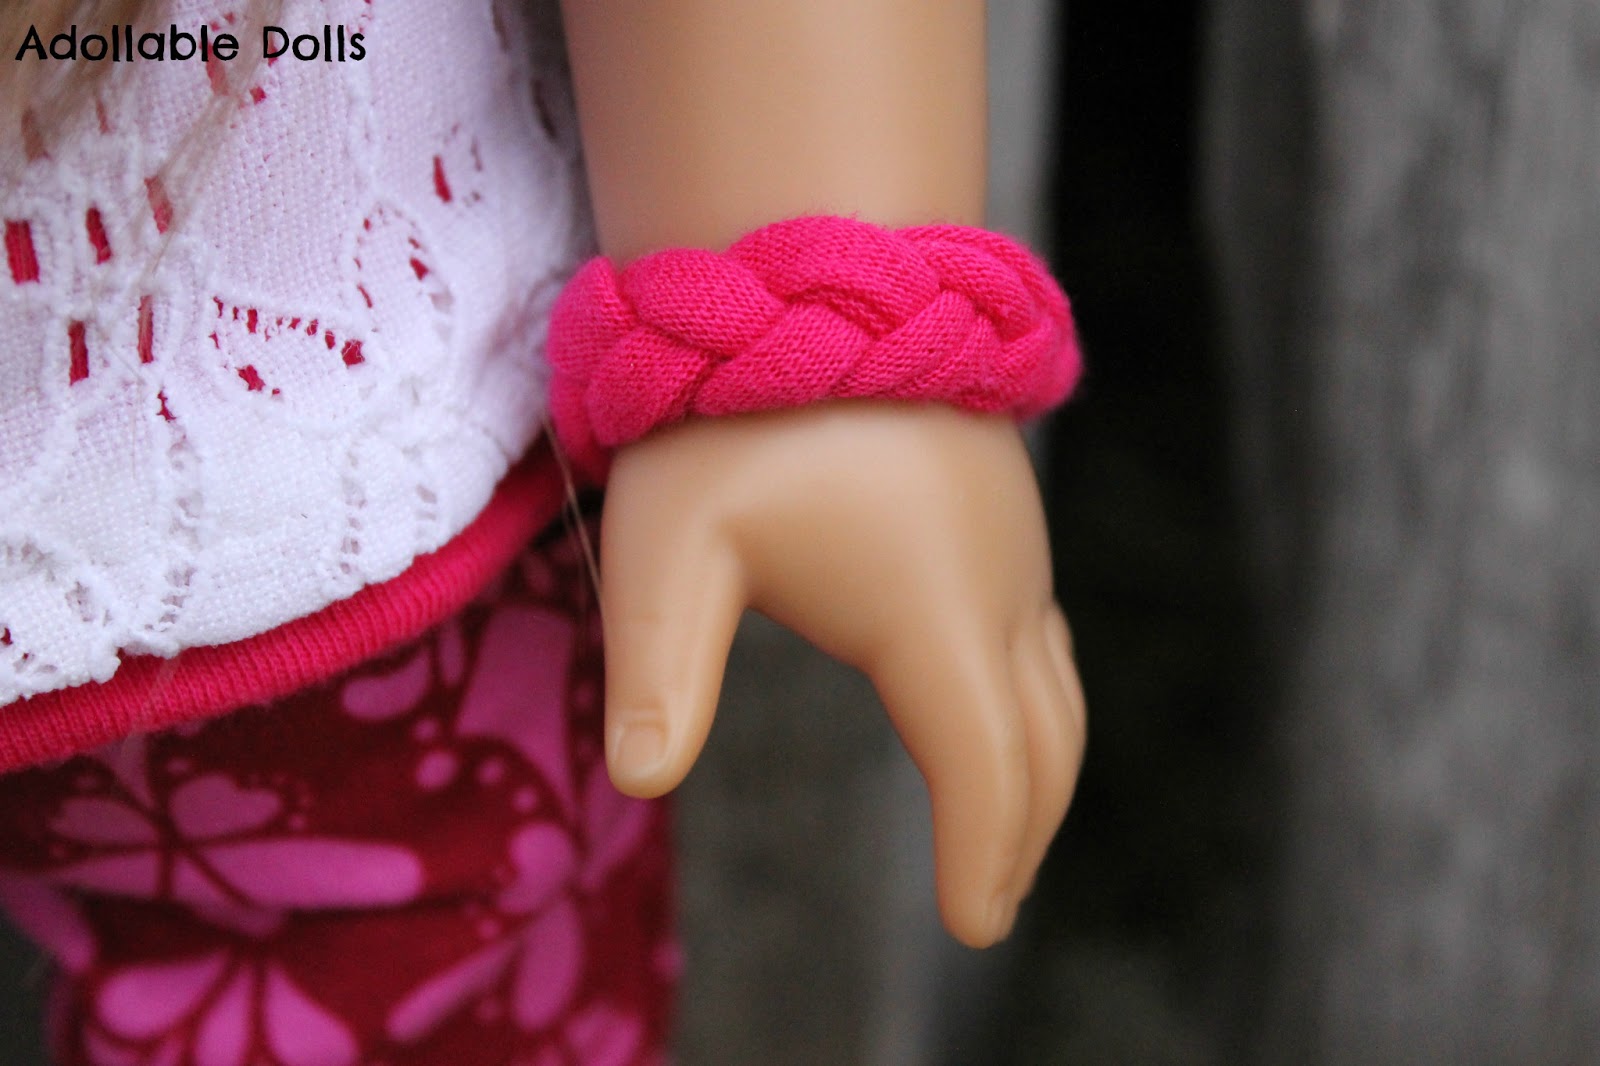
Fold and put the ends together.  Then sew a straight line about an inch away from the fold.  And your finished!  Wasn't that super easy?  There are so many fun color options.  Have fun with it!


 ♥♥♥♥♥,
Sonali♥

Thursday, January 24, 2013

Make a T-Shirt Headband

Today, I'm going to show you how to make a super-easy and quick DIY t-shirt headband.

You will need:
-old t-shirts
-scissors
-sewing machine or needle and thread
-hot glue gun

First cut out your fabric.  And sew the ends together on the big piece.


Then take the bow piece and bring both end into the middle and add a dab of hot glue to hold them in place.


Pinch your bow and add some hot glue to hold it.


                                Line up your headband piece, bow, and other piece like the picture below.


                        Wrap the other white strip of fabric tightly around the bow and headband.


                                         Hot glue the fabric strip in back and you're done!


Enjoy!
Nadia☺

P.S.  If you like this post or any of our others please share them!

Wednesday, January 23, 2013

How to do a Top Knot

Today I (Marisol) am going to show you how to do a top knot.  Top knot's are totally in right now and they look really cute with many outfits. 
First your going to brush out the hair.


Then gather it up in a super-high pony, on top of your head.


Twist the hair upwards.


Wrap the hair around the pony holder, into the shape of a bun.  Tuck the ends in.

Use bobby pins to hold in place.

And...voila!  You're done!
Tienes divertido! (Have fun),
Marisol

Monday, January 21, 2013

Sonali's Fashion: DIY Doll Infinity Scarf

Hello people!  This is the one and only fashionable Sonali here!  Today's post is all about fashion.  I'm going to show you a quick, easy way to add some fashion to your doll's outfits.  It's called an infinity scarf!  I absolutely love these.  I wear these all the time because they add a fashionable touch to any outfit.  Plus, they are totally the trend.
You are going to need:
-Stretchy Fabric (I usually use an old t-shirt.  It's nice and stretchy and it looks realistic.)
-Scissors
-Sewing Machine
-Thread
-5 minutes (At the most it should take you about 5 minutes.  But, once you get the hang of it you will be whipping them up in 1-2 minutes.)

First, cut your fabric 3 inches wide and 26 inches long on a fold..


Fold it in half, rights sides together, and sew the long side.

Right side it out and tuck the end into the fabric on the inside (this will stop the ends from fraying and make it look nice).  Pin the ends together and sew.

It's ready for you doll to wear now!


The second picture here just took my breath away when I put the effect on it.

Until my next fashion post,
Sonali

P.S.  If you like or love this please share this post and our blog!  We would really appreciate!


Monday, January 7, 2013

A Tour of our Store Scene

Hey guys!  It's Nadia and Elizabeth here again.  Today we are going to give you a tour of our store scene which was used in one of our lastest stopmotions. 
First we have the store front.  We used a lid with  flap and removed the flap.  We covered the lid with brick paper printed off from Google.  We added a sign, a Christmas tree, and a dress form in some clothes.
In this photo it shows you the whole store scene.  We took  big piece of cardbord, folded it in half and added some wrapping paper for wallpaper.  We took some thick posterboard and covered it in another fun printed wrapping paper and tapped it to theside of the cardboard.  On the other side we taped the store front window.
Here we have one side.  We used double sided tape to attach some hats for a ht display.  We added a little bench made from a tissue box.  We first taped on a rectangle of cardboard to the top the same size as the box then covered the top in wrapping paper.  We added some ribbon to cover the edge of the wrapping paper. 

This is the back wall.  We made  dressing room by cutting out a square bigger than the dolls head, taping the end to the wall, and then we put two dowels on the other corners that aren't touching the wall.  We then cover it in fabric and added a little bow.  We used a small jewelry chest with drawers to display the shoes.


A closer look at are shoe and jewelry display.


A closer look at are dressing room.


A closer look at the clothing display.

We hoped you enjoyed the little tour of our store and if you make any kind of store or shop we would love to see pictures of it!  Just email us the pictures.  Our email is innerstarustudios@gmail.com
Thanks for reading today's post and have a great day!
Nadia☺ and Elizabeth

Tuesday, January 1, 2013

First Post! Spring Fashion

Hey guys, this is Nadia and Elizabeth.  We are so excited for our first post.  Today we are going to be blogging about spring fashion.  Yes, we know it's only January, but we can still dream about the outfits we will wear in the spring, can't we?
First, we are starting off with a basic white tee (made with the free t-shirt pattern from Liberty Jane) and Kit's floral meet skirt, but any floral skirt will do.  We tucked the shirt in and pulled the skirt up so it looks like an empire waisted dress.  For the hair we twisted back the front strands and used barrettes to hold in place.

Our first look is a casual, school day or just hanging out with friends, kind of look.  We added some light pink, frayed converse with a green print on them.  They came with an outfit that American Girl sold a couply of years ago.


Our second look is chic, fashionable and stylish.  Perfect for a day of site seeing, walking in the park, eating at a cafe, or shopping in the city.  We added a light pink beaded bracelet, a hat from American Girl that came with Marie Grace's Summer Outfit that you can't buy anymore, and the boots that came with the outfit.
Thanks for reading our first post and we hope you enjoyed it!  Until our next post au revoir!
               
Nadia☺ and Elizabeth

P.S. The pictures do not do me justice.  I am WAY prettier. ♥ Lizabeth
P.P.S.  Don't listen to her, she's crazy! ☺ Nadia